
Whole-wheat pita bread (and the mystery of the pita pocket)
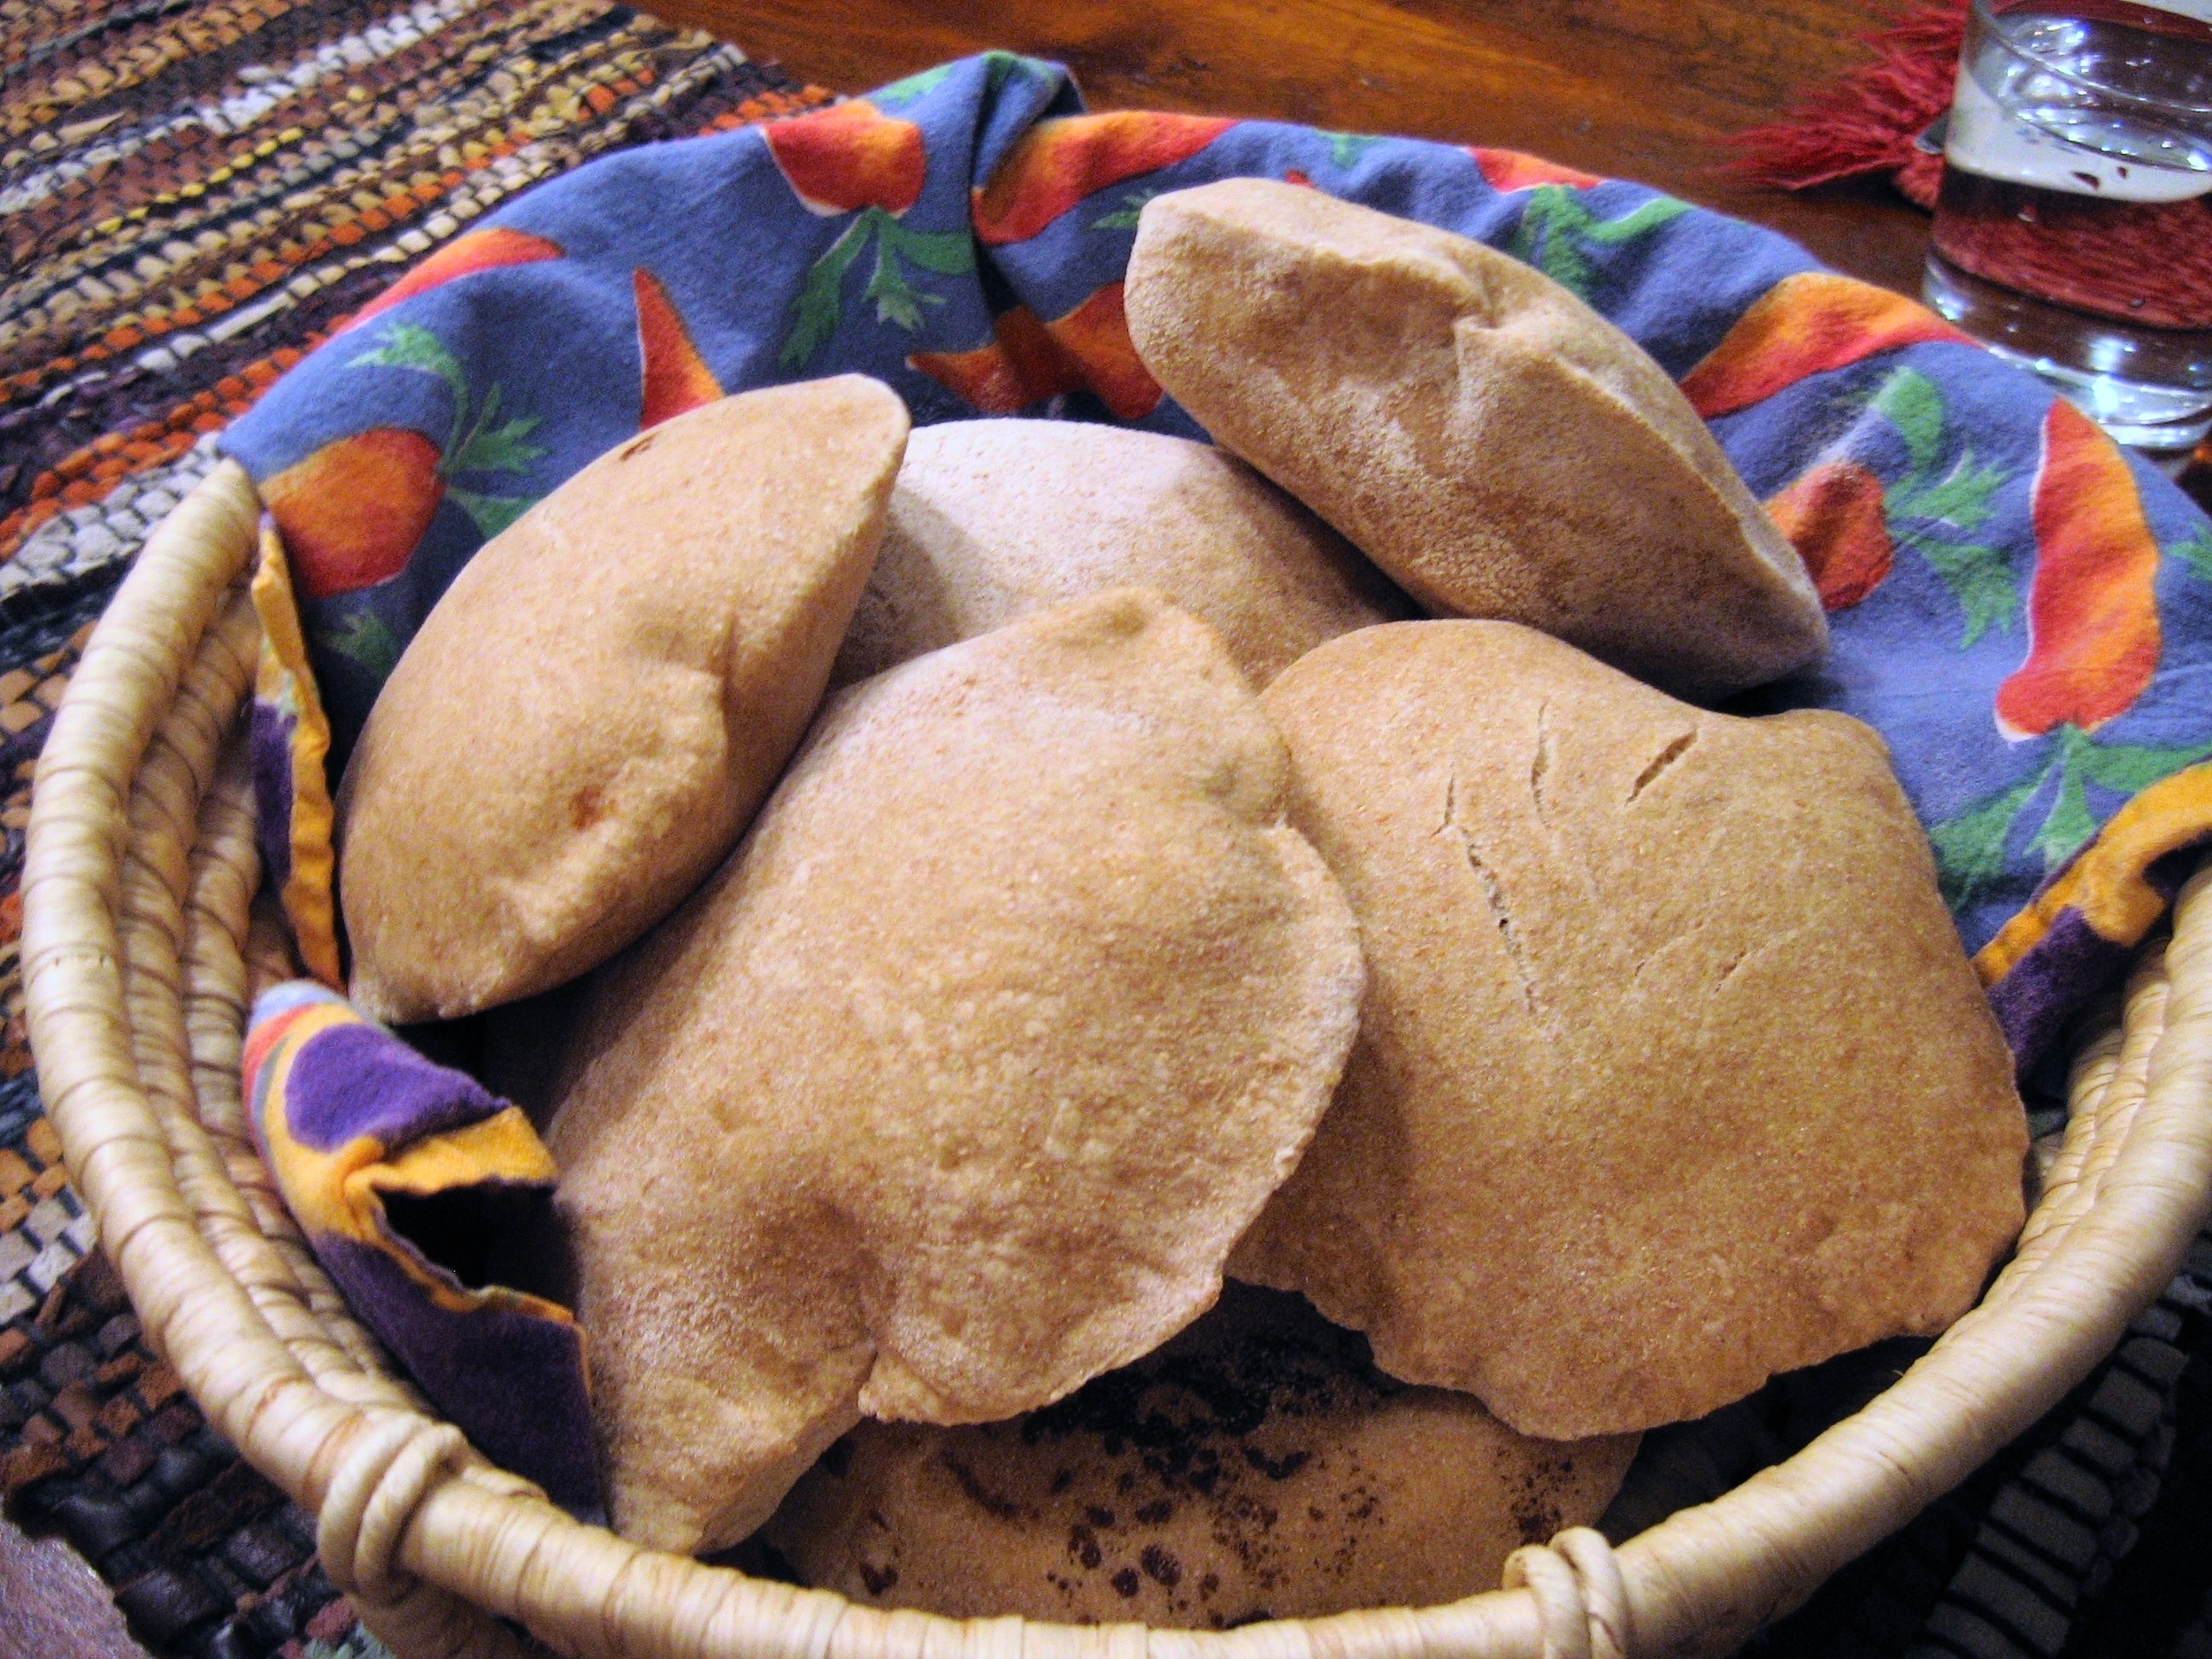
Baking pita bread at home is really easy and fun. It’s really a beginner baker’s project, and a wonderful first bread recipe to make with kids. The entire process of takes only about two hours (most of it rising time) and pita bread bakes in minutes. Kids are fascinated when they see the pita balloon in the oven and form its pocket.
Freshness makes all the difference, therefore your own pitas are going to be better than anything you ever bought in a supermarket.
Once you’ve mastered the dough preparation you’ll be able to experiment with baking pitas over any very hot surface — although I usually use an oven with a baking stone, pitas can be made in any oven, on a grill, on a stovetop in a pan and even on hot pebbles!
Ingredients:
3 cups flour (use 1 ½ cups whole wheat flour and 1 ½ cups all purpose flour or bread flour for starters. You can then experiment with increasing the proportion of whole to regular flour)
1 package rapid rise active dry yeast
Scant 1 cup lukewarm water
1 teaspoon salt
1 tablespoon olive oil
Preparation:
If you have a bread machine put all the ingredients in, set the machine to the dough setting and skip to step 7.
If making this dough by hand, you’ll get the benefit of exercising your arms a bit — all the more fun:
Combine flour and salt in large bowl.
Make a small depression in the middle of the flour and pour yeast, water and oil in the depression.
Stir with wooden spoon or rubber spatula until elastic.
Place dough on floured surface or in a large bowl and knead for 3-5 minutes. Rest for about 15 minutes (time for a coffee break?) and go back to kneading for another 5-10 minutes. When the dough is smooth and elastic and not sticky your kneading is done.
Put your dough into a floured bowl and cover. Set in a warm place to rise, until it doubles in volume (about an hour).
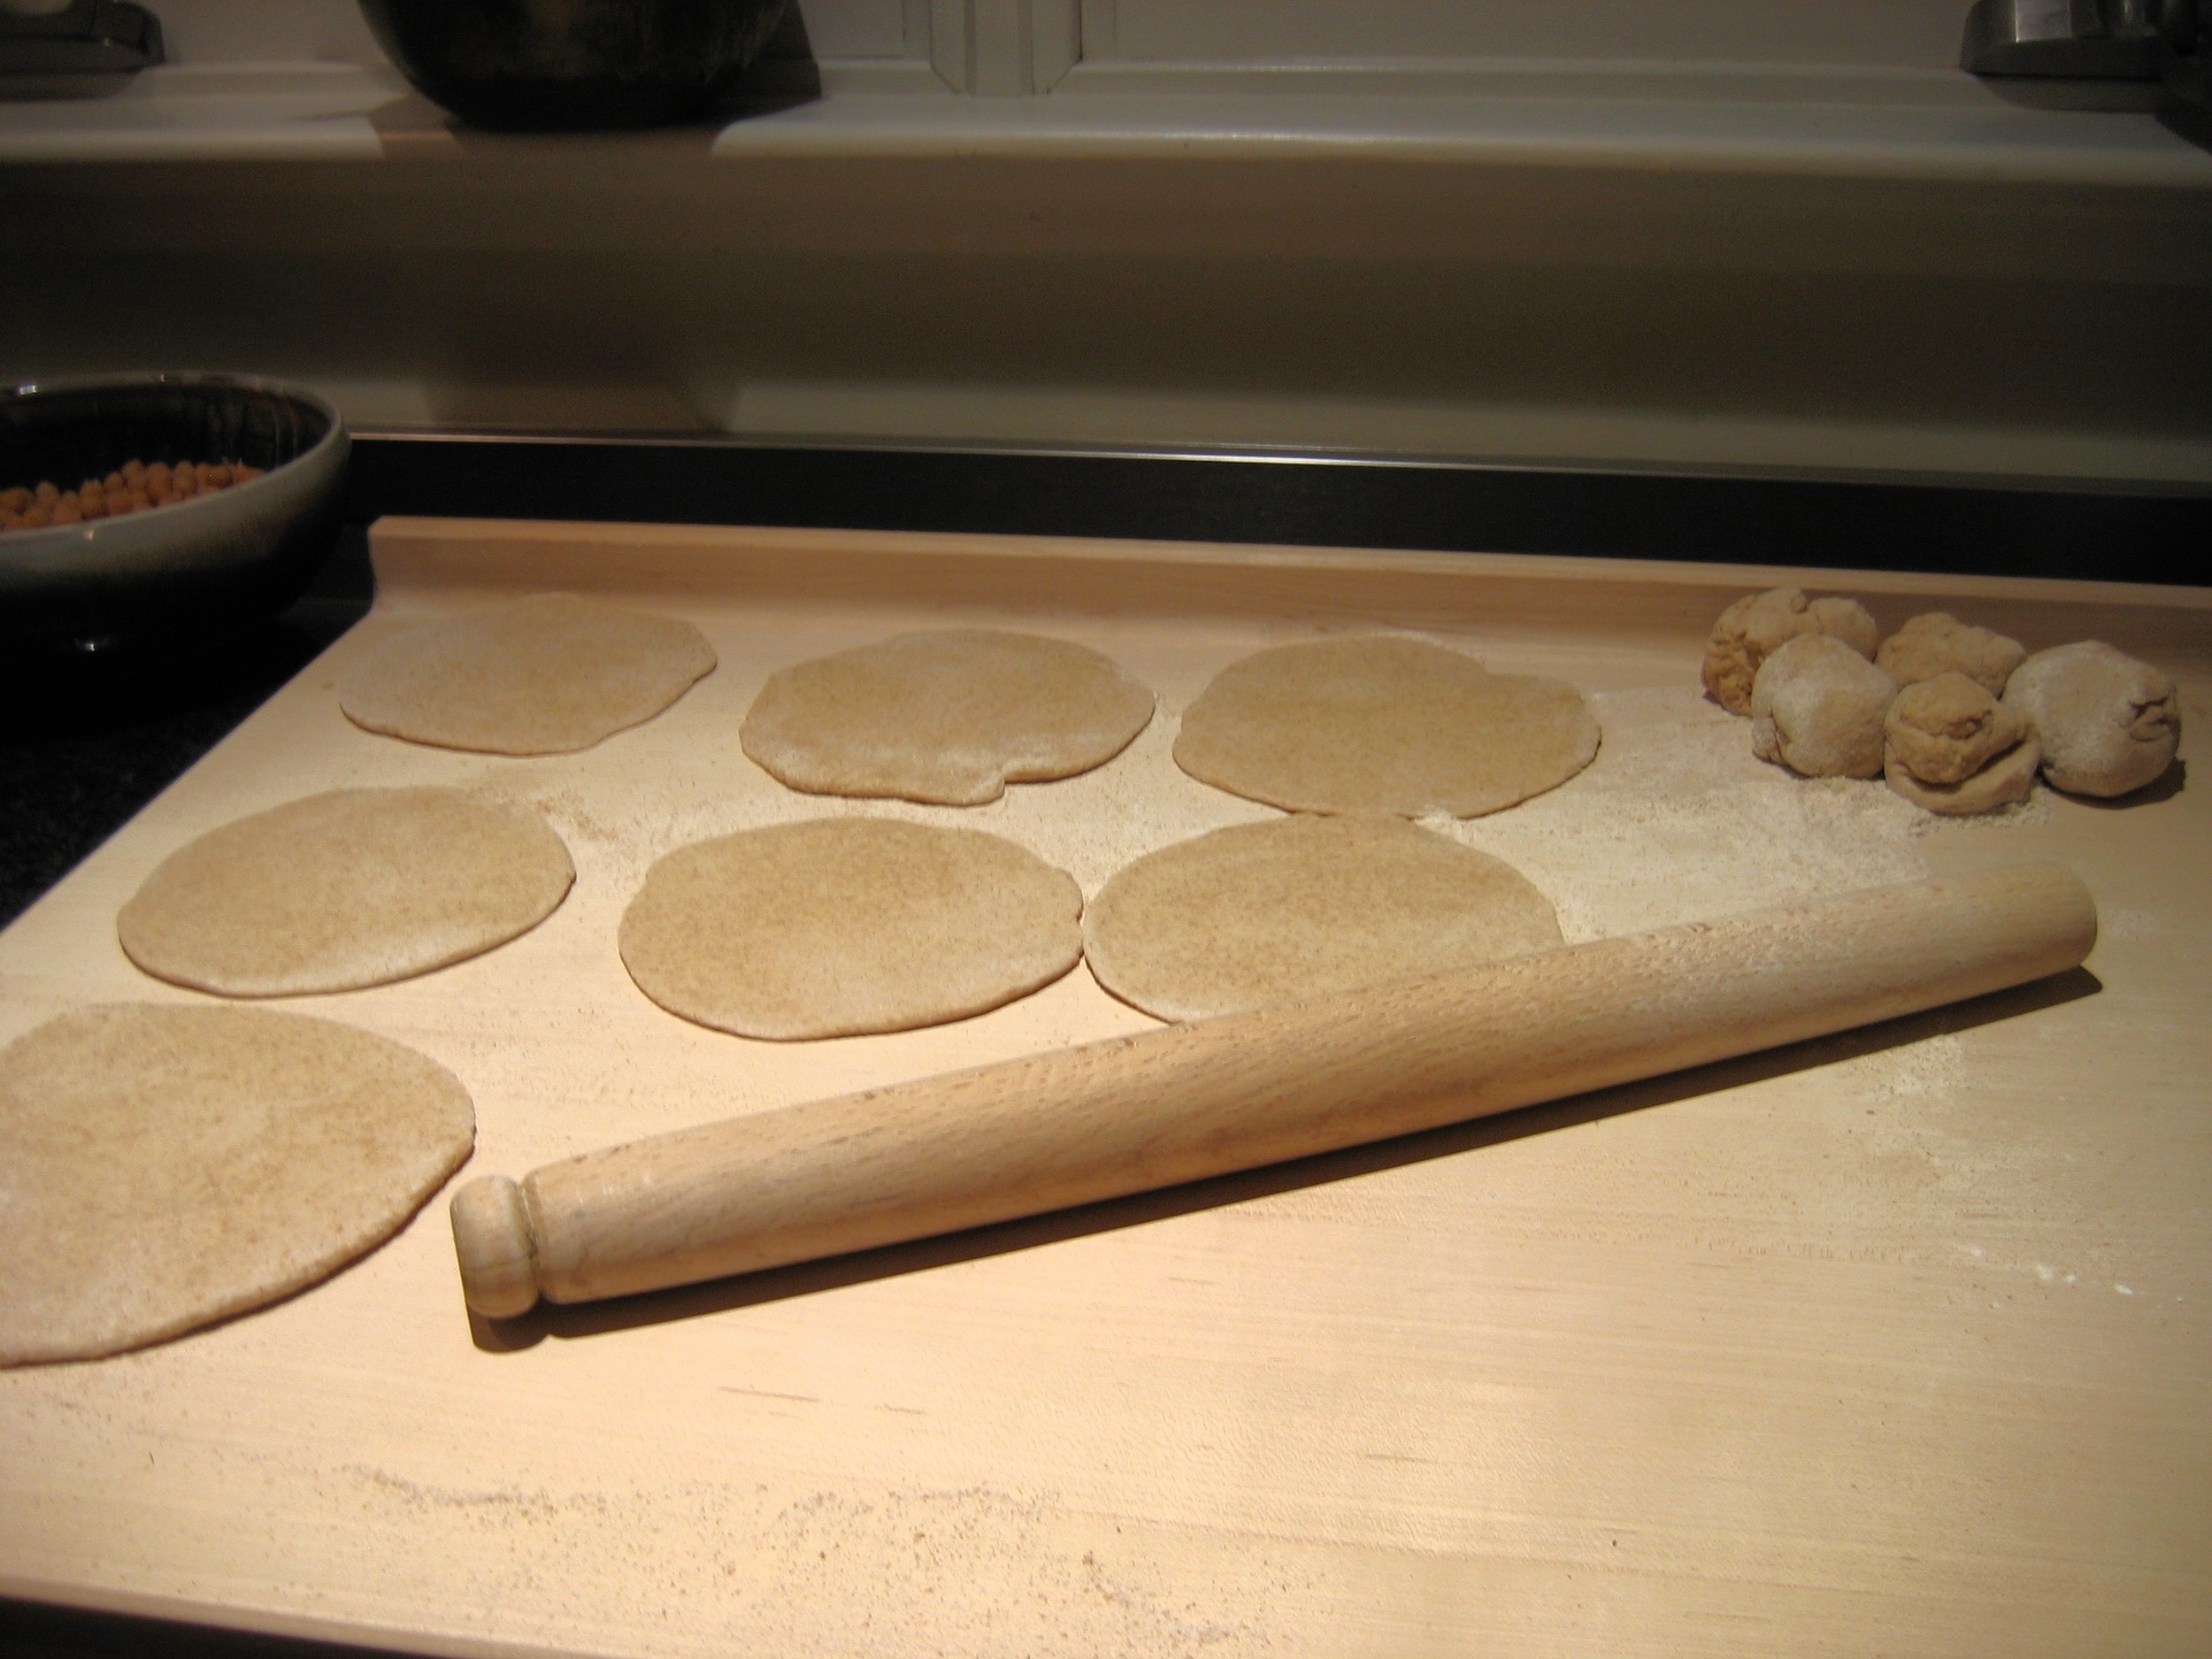
Divide dough into 10-12 equal balls. On a lightly floured surface, roll each ball with a rolling pin into a 5-6-inch circle.
Cover rolled dough loosely with a towel. Let rise for about 15-30 minutes, until slightly puffy (you can skip this step if in a hurry).
Preheat oven to 450 degrees with the baking sheet or stone in it. Bake for 2-4 minutes, turning over halfway.
Pitas are ready when puffy and just slightly browned. A short bake results in softer pitas. If you like your pita crispy, bake a few minutes longer.

Someone will ask you why to the pitas puff.
Whenever I have a “why” question in the kitchen I turn to Harold McGee's “On Food and Cooking: The Science and Lore of the Kitchen”, the Bible of cooking science. Mine is as stained with batter and spills as my cookbooks.
Here’s McGee’s explanation:
“Puffing occurs when the two bread surfaces have set in the heat and become tougher than the inner layer, where steam accumulates and eventually tears the tender interior, forcing the two surfaces apart.”
The way I explain it to young kids is that the dough has lots of tiny air bubbles. With the heat of the oven the air bubbles expand (as any gas will do in heat), and since the pita forms a hard crust on both upper and lower sides, the air accumulates in the middle to form a balloon. I hope that’s accurate enough.
As an experiment, you can prick holes with a fork in one of your pitas and observe that that pita won’t puff.
Serving ideas:
You can eat almost anything in a pita as people in the Middle East do. Hummus, Tahini, thinly sliced vegetables and other salads are great.
You can use pita bread to scoop sauces.
We usually eat the pitas as soon as they come out of the oven and have none left, but if you do, they freeze well. When heating a pita bread it’s a good idea is to sprinkle water on either side.
A few more words about bread and nutrition:
I case you didn’t notice, the recipe above has very few ingredients. In fact, bread is made out of four main ingredients—flour, water, salt and a yeast. Bread is an ancient food, and the mastery of great bread making is usually not in ingenious new ingredients—it’s in the technique and patience of the baker.
Next time you’re in the supermarket visit the bread isle, which is usually vast, and look at the ingredient lists. Most supermarket bread is made with white flour. If it’s made with white flour it will contain vitamins and iron -- law requires refined flower to be enriched, as the refining process robs the wheat grain its germ and bran, and therefore much of its micronutrient and fiber. Most bread also contains a long list of softeners, additives, conditioners, preservatives and many other hard to read and impossible to understand chemicals. The result is bread that can be made quickly in a factory, with a long shelf life and a taste that I guess most people like. Many types of bread also have lots of health claims: Adding a small amount of whole wheat or bran to industrial bread is cause for celebration on the package.
Bottom line: whole grains are good for you. I have no idea why we as consumers would want to eat breads with so many additives. If you’re seeking bread with a “shelf life” buy real bread with a short ingredient list all of which you can identify and pronounce, slice it and put it in the freezer. It will keep well.
Enjoy,
Dr. Ayala